

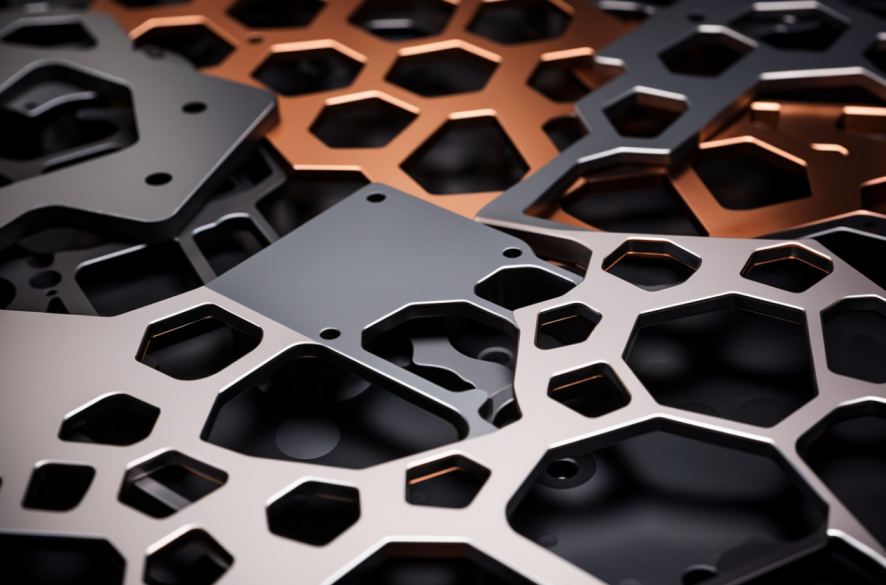
Simple Steps to Repair PVD Coating on Tools
- Assess the Damage
- Clean the Affected Area
- Localized Repair Solutions
- Reapply the PVD Coating
- Temporary Protective Measures
- Preventive Maintenance Tips
Assess the Damage
How Deep Are the Surface Scratches?
The extent of damage to the PVD coating (Physical Vapor Deposition) depends on the depth of the scratches. Minor scratches, typically 0.1-0.5 microns deep, are just surface-level and can be polished out. However, if the scratches expose the base material or cause chipping, you’ll need to recoat the tool. Use your fingers or a magnifying glass to quickly gauge the severity. The depth of the scratch directly impacts the repair difficulty and cost, so this step is crucial.
How Extensive Is the Coating Peeling?
Small areas of peeling (a few square millimeters) might be due to localized stress or poor adhesion and can be fixed with CVD (Chemical Vapor Deposition) touch-ups. But if the peeling covers more than 10 square centimeters or the coating is falling off in large chunks, it’s better to strip the old coating and reapply it entirely. Gently scrape the edges of the peeling area with your fingernail—if it spreads quickly, the bond between the coating and base material is compromised.
How Does the Tool’s Usage Environment Affect the Damage?
The tool’s operating conditions play a big role in PVD coating damage. In high-temperature, high-humidity environments, the coating can oxidize, leading to spots or discoloration—these areas need rust removal before repair. High-speed operations (1500-3000 rpm) can accelerate wear, causing micro-cracks. Consider the tool’s “working conditions,” like load fluctuations between 50-200 Newtons, to assess whether the coating’s wear resistance is up to par. Ignoring environmental factors can lead to poor repair results.
Quick Damage Assessment Reference
Here’s a handy table to help you identify the issue:
| Damage Type | Depth/Area | Common Signs | Repair Suggestion |
|---|---|---|---|
| Minor Scratches | 0.1-0.5 microns | Surface shine, no base exposed | Polish |
| Moderate Peeling | 5-10 square mm | Localized peeling, no spreading | Localized CVD touch-up |
| Severe Peeling | Over 10 square cm | Large-scale peeling, spreading | Strip and recoat |
| Oxidation/Micro-cracks | Depends on environment | Discoloration or fine cracks | Rust removal + localized repair |
Prep Work Before Starting
Before repairing, clean the tool based on its condition. Use ultrasonic cleaning (20-40 kHz frequency) to remove oil and dust. For oxidation, use a dilute acid wipe (5-10% concentration) to avoid damaging the base material. These simple steps can significantly improve repair quality—PVD coating repairs often hinge on how well you handle the details.
Clean the Affected Area
Surface Inspection
Before cleaning, visually inspect the surface for scratches, rust spots, or old coating residue. Adjust your cleaning method accordingly—solvent wipes for light grease, polishing for stubborn oxidation.
Choosing Cleaning Tools and Solvents
Picking the right tools and solvents makes a difference. Use lint-free cloths with isopropyl alcohol (IPA) for general dirt and grease. For tougher stains (like cutting fluid residue), an ultrasonic cleaner (20-40 kHz, 40-50°C) works best. Avoid high solvent temperatures to prevent base material damage.
Step-by-Step Cleaning
- Blow away loose dust and debris with compressed air.
- Wipe the surface with a solvent-soaked cloth, following the grain to avoid new scratches.
- For complex tools (like grooves or holes), use an ultrasonic cleaner for 5-10 minutes.
- Dry with nitrogen to prevent water spots.
Verifying Cleanliness
Use a high-powered microscope to check surface roughness (Ra value should be 0.1-0.4 μm). Wipe with alcohol—if the cloth stays clean, you’re good to go.
Key Tips
Control the environment (30-50% humidity, 20-25°C) to avoid static dust. Wear lint-free gloves to prevent fingerprint smudges.
Localized Repair Solutions
Tools and Equipment
For polishing, you’ll need diamond polishing paste (1-5 microns) and a soft polishing wheel. For touch-ups, a PVD coater (vacuum 10⁻³-10⁻⁴ Pa, temperature 200-500°C) is essential. Keep humidity below 60% and dust levels ≤50 µg/m³.
Repair Steps
- Polishing: Use polishing paste and a wheel (1500-3000 rpm) with moderate pressure to avoid damaging the base material.
- Touch-up: Sand the damaged area to remove old coating, then deposit new coating in the PVD machine (nitrogen flow 20-50 sccm, 30-60 minutes).
- Testing: After cooling, check coating hardness (HV 1500-2000) to ensure it meets standards.
Parameter Comparison
| Repair Method | Equipment Needed | Time Range | Hardness Range (HV) | Best For |
|---|---|---|---|---|
| Polishing | Polishing wheel + paste | 10-30 minutes | 1000-1500 | Minor scratches |
| PVD Touch-up | Coating machine + vacuum system | 30-60 minutes | 1500-2000 | Severe peeling |
Pro Tips
Control wheel speed to avoid overheating during polishing. Monitor vacuum and gas flow during PVD to ensure coating quality. After repair, perform a wear test (friction coefficient 0.4-0.6).

Reapply the PVD Coating
Deposition Process
Place the cleaned tool in a vacuum chamber and deposit metal targets (like TiN or CrN) using sputtering or evaporation. Maintain a vacuum of 10⁻³-10⁻⁵ Pa, temperature 200-500°C, and deposition time of 1-3 hours.
Step-by-Step
- Clean the tool with an ultrasonic cleaner.
- Inspect the old coating; use chemical strippers if needed.
- Place the tool in the PVD machine and adjust parameters.
- Let it cool naturally after deposition and inspect the surface.
Parameter Comparison
| Parameter | High-Speed Steel Tools | Carbide Tools | Stainless Steel Tools |
|---|---|---|---|
| Vacuum (Pa) | 10⁻³ – 10⁻⁴ | 10⁻⁴ – 10⁻⁵ | 10⁻³ – 10⁻⁴ |
| Temperature (°C) | 200 – 350 | 300 – 500 | 250 – 400 |
| Deposition Time (h) | 1 – 2 | 2 – 3 | 1.5 – 2.5 |
| Coating Thickness (µm) | 2 – 4 | 3 – 5 | 2 – 3.5 |
Pro Tips
After repair, test the tool at low speeds (1500-2000 rpm) to check coating performance. Keep voltage fluctuations within ±5% to maintain coating quality.
Temporary Protective Measures
Quick Fixes
Use high-temperature tape (150-300°C resistant) or silicone oil to seal damaged areas, keeping out air and moisture.
Environmental Control
Maintain humidity at 40-60%, temperature 20-30°C, and reduce speed to 800-1200 rpm under load fluctuations of 500-1500 N.
Material Options
| Material Type | Temp Range (°C) | Moisture Protection | Best For | Cost ($/unit) |
|---|---|---|---|---|
| High-Temp Tape | 150-300 | High | Heavy-duty tools | $0.75-$2.25 |
| Silicone Coating | 50-200 | Medium | Minor scratches | $0.30-$1.20 |
| Temporary Spray | 80-250 | Medium-High | Large peeling | $1.50-$3.00 |
Pro Tips
Apply evenly to avoid bubbles or gaps. Replace temporary fixes with permanent repairs within 72 hours.
Preventive Maintenance Tips
Create a Schedule
Set up monthly or quarterly inspections based on usage frequency to check for wear, scratches, or peeling.
Cleaning and Care
- Surface Cleaning: Use alcohol or specialized cleaners to remove grease and dust.
- Lubrication: Apply lubricant or rust inhibitor to reduce friction and corrosion.
- Coating Inspection: Use a microscope to monitor coating condition.
- Performance Testing: Run simple tests to evaluate coating performance.
Optimize Storage
Store tools in a dry, ventilated area with temperatures of 15-30°C and humidity of 40-60%.
Professional Testing
Regularly send tools for advanced analysis using X-ray diffraction (XRD) or scanning electron microscopy (SEM) to assess coating structure.